Captions Decoded
All the pictures in The Photographer’s Sketchbook have small captions at the bottom. When you’re first starting out, you won’t need to understand the technical data in the captions. But once you’re ready to really take control of your camera, you’ll find it useful to know the settings used to produce the photos you’re looking at.
So here’s how to decode all the letters and numbers.

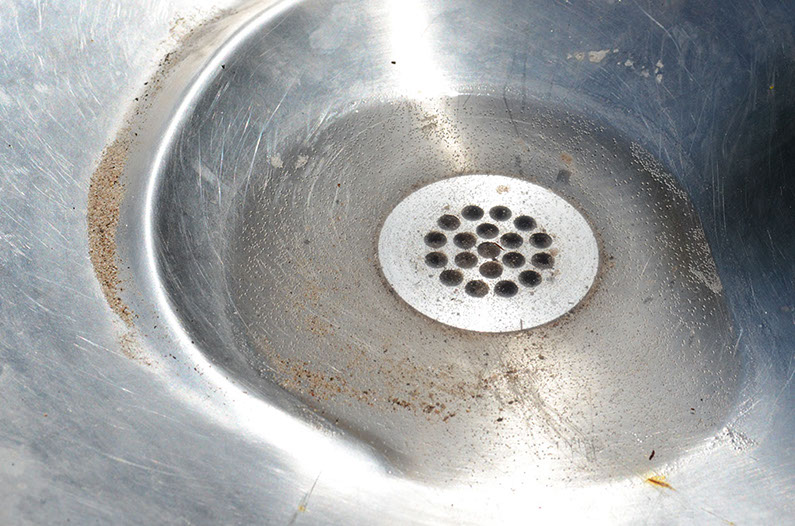
Nikon D7000, 50mm (18-55mm), 1/800, f/14, ISO 500
This photo of a drinking fountain in Boulder, Colorado, was taken with some basic settings and not manipulated. So the data here is nice and straightforward:
Nikon D7000 is the make and model of the camera I used. Note that this is a clickable link. If you select it, you’ll get a new browser tab with additional information about the equipment.
50mm is the focal length I used. That’s how far I zoomed in to get the shot.
(18-55mm) is the focal length range of the lens. That’s how far I could have zoomed in or out. This is also a clickable link that will take you to more information about the lens.
1/800 is the shutter speed. Here the shutter was open for only 1/800th of a second. That’s a fairly fast shutter.
f/14 is the aperture, the iris that controls how much light gets through the lens. This setting is toward the narrow end of the middle of the range.
ISO 500 is the ISO setting, which controls how sensitive the camera’s image recording chip is to light. This number is actually a little higher than I would typically use for a bright, sunny scene like this.
Now let’s look at a slightly different example.

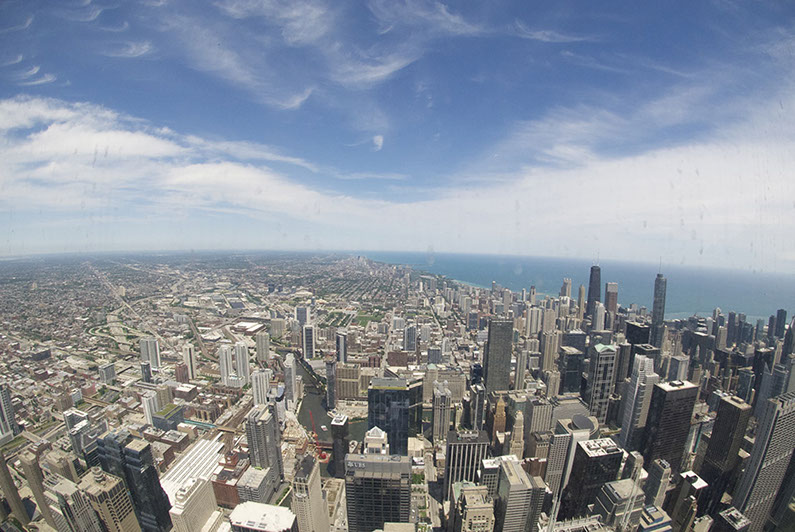
Nikon D3000, 10.5mm, 1/640, f/13, ISO 800, cropped
This photo of the Chicago skyline was taken from the observation deck of the Willis Tower. It’s a little different from the last one.
For starters, there’s only one focal length. No numbers in parentheses indicating the lens’s range. That’s because this was taken with a prime lens, a lens that doesn’t zoom at all.
And at the end of the caption you’ll find the word “cropped.” This indicates that the photo as originally shot was larger, but parts of it have been trimmed away. In this case the original shot had part of the window frame in it, so I cropped it down to just the cityscape.
Cropping is one way to adjust a photo after it’s been shot. You’ll also encounter two other post-production changes mentioned in captions.

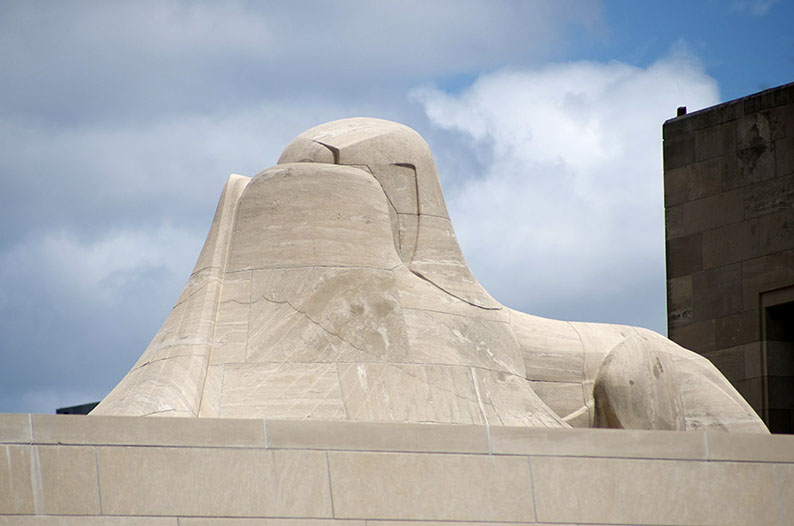
Nikon D7000, 200mm (28-200mm), 1/2000, F/5.6, ISO 220, adjusted and altered
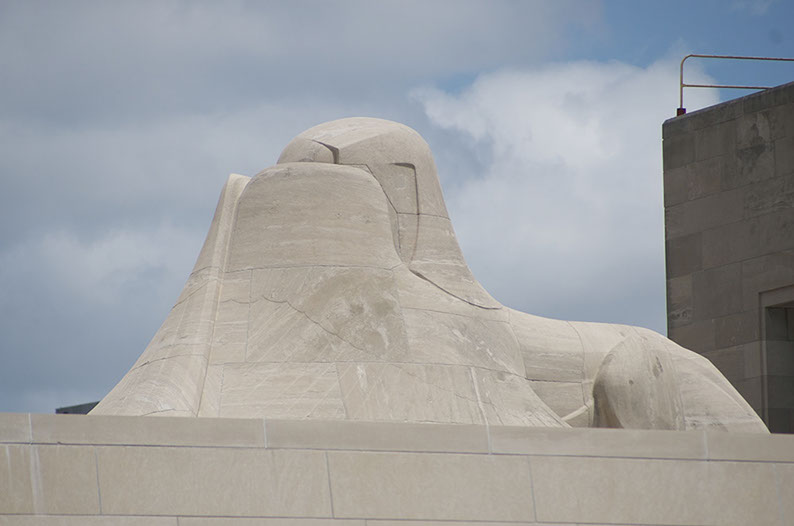
This photo from Liberty Memorial in Kansas City hasn’t been cropped, but it has been adjusted and altered. Compare it to the unaltered shot (particularly the upper right-hand corner).

Nikon D7000, 200mm (28-200mm), 1/2000, F/5.6, ISO 220
Adjusted means I made some minor changes to the brightness and contrast of the photo. See how much brighter the blue sky is?
Altered is a more serious edit (and a huge no-no for photojournalists). When I took this picture, a maintenance crew was working on the building in the background. I decided their safety rail detracted from the overall quality of the shot, so I used Photoshop to remove it.
One final note: most of the photos in The Photographer’s Sketchbook were taken by one of the two authors (Bryan Whitehead and Ken Willard). If anyone else took the photo, they’re given byline credit in the caption.
